
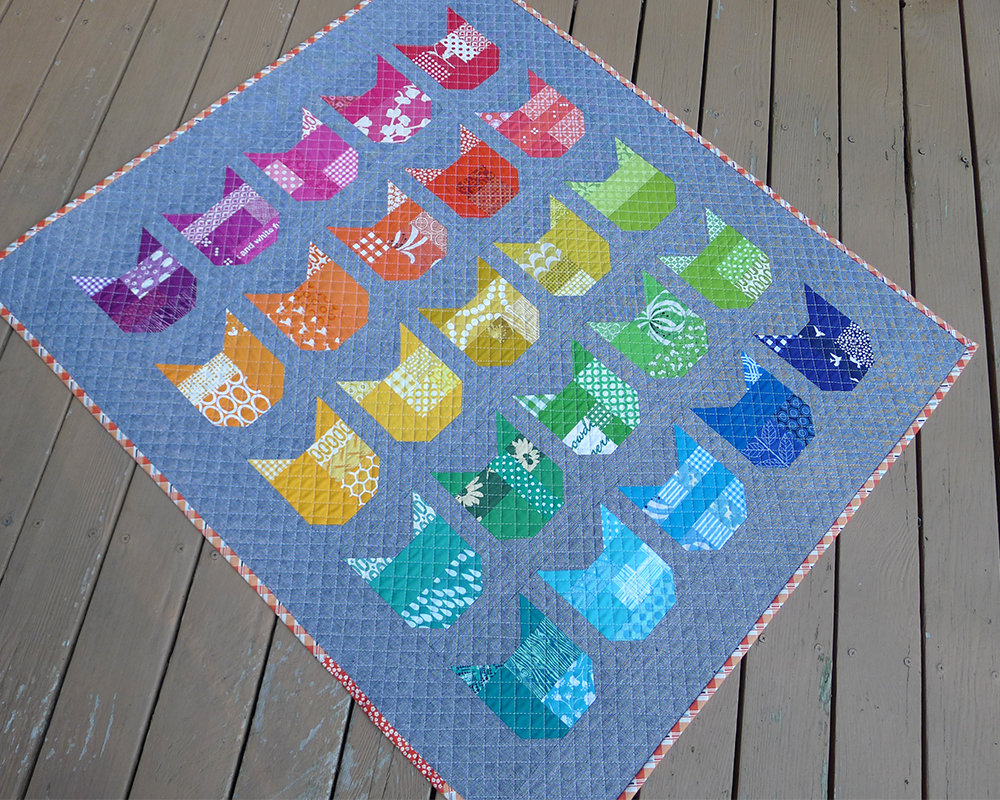

The Cat is a 30" x 35" mini quilt made with 25 cat face blocks. The blocks can be made using either my Basic Cat Block or the 25 different blocks from my 2013 Catvent Quilt-Along, which can be found here, here, here, here, and here.
A complete pdf pattern including all of the cat faces, instructions for the mini quilt, and instructions for a larger lap quilt made with 100 blocks is available in my shop.
Basic instructions for making the mini quilt follow.
Materials
- Assorted print and/or solid fabric scraps for the cat faces
- 1 yard neutral solid background fabric. (I used Essex yarn-dyed linen blend in Indigo.)
- 33" x 38" batting
- 1 yard backing fabric, cut to 36" x 41", or a pieced back with the same measurements.
- 3/8 yard binding fabric, cut into 4 strips 2-1/2" x WOF each
Cut the Background Fabric
Cut 4 strips 3½” x width of fabric and subcut into:
- 2 vertical border strips 3½” x 29½” each
- 2 horizontal border strips 3½” x 30½” each
Cut 2 strips 4½” x width of fabric and subcut into:
- 25 ear unit pieces 2” x 4½” each
Cut 6 strips 1½” x width of fabric and subcut into:
- 4 horizontal sashing pieces 1½” x 24½” each
- 20 vertical sashing pieces 1½” x 5½” each
From the remaining fabric, cut:
- 50 chin pieces 1½” x 1½” each

Make the Blocks
You will need a total of 25 blocks. These can be all plain blocks, one each of the Catvent Quilt-Along cat blocks, or some combination of the two. The Catvent block instructions can be found here, here, here, here, and here.

Make the Quilt Top
All seams are sewn with a 1/4" seam allowance and pressed open.
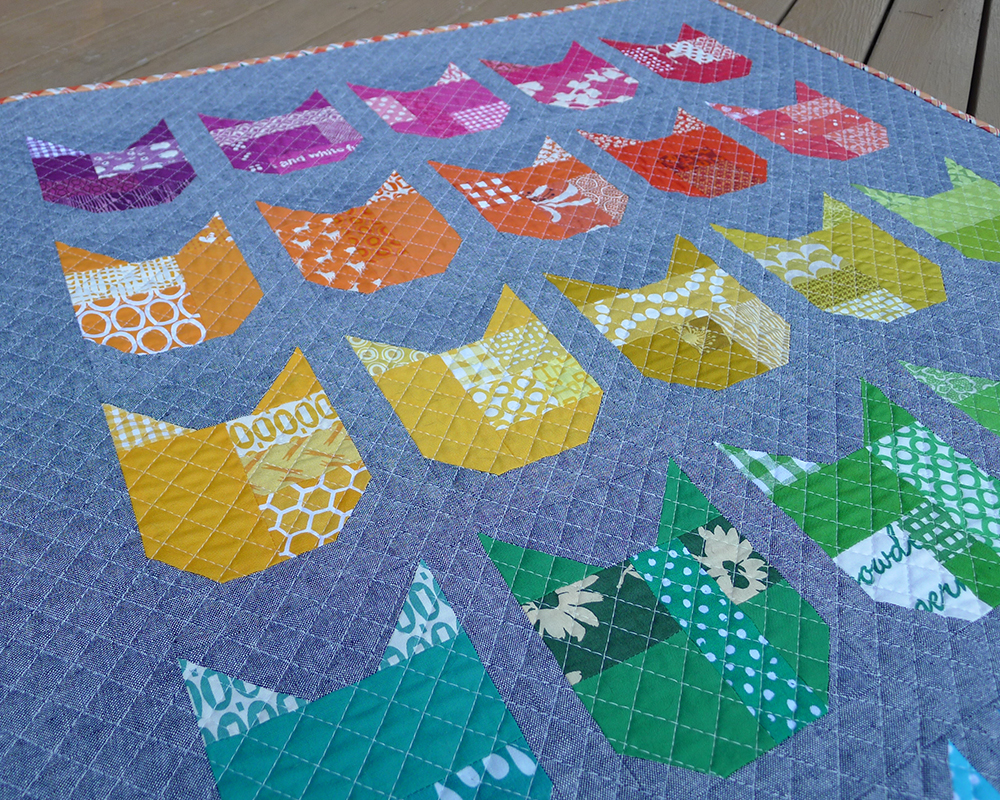
- Arrange the cat blocks in 5 rows of 5.
- Sew the 5 blocks in each row together, sewing a vertical sashing piece between each block and beginning and ending with a block.
- Sew the 5 rows together, sewing a horizontal sashing piece between each row and beginning and ending with a row.
- Sew the vertical border pieces to the left and right sides of the quilt.
- Sew the horizontal border pieces to the top and bottom of the quilt.
Finish the Quilt
A small quilt like this is a great place to practice straight line quilting with a walking foot!
I used my walking foot to quilt a grid pattern of diagonal lines, each about 1/2" apart. If you want to do this, I recommend using a water-soluble marker to mark the first line of stitching near the center of the quilt. After quilting along the marked line, you can simply use the edge of your walking foot as a guide to echo the first line of quilting all the way out to the edges of the quilt.
Keep in mind that walking feet come in a variety of widths and using the edge of your foot as a guide might not result in a perfect 1/2" grid. However, I think it's the easiest way to get a consistent grid. It doesn't matter if it's not a perfect 1/2". Nobody is going to measure!
Finish all of the quilting going in one direction before repeating the process to quilt diagonal lines in the opposite direction.
Bind your quilt as desired.